What’s up guys?! I’m back at it again with another blog post to bestow my philosophy upon the masses. Today we’re looking at an experimental new format some people in the community have been testing called “drafting.” It’s based off the popular trading card game Magic the Gathering’s draft, where each player opens a booster pack, picks one card, and then passes the pack to the next player, resulting in each player having a pool of cards from which they can build a unique, brand-new deck, just for the day.
As a drafting veteran, I have had a great time applying my skills to Gem Blenders, and today I want to explain my strategy that, so far, has led to 100% success in 1 vs. 1 battles.
There are 3 main things to look for when picking cards in a draft. In order, these are:
1. Win Condition
2. Utility
3. Interaction
Before applying this to a sample draft, let’s break these terms down.
WIN CONDITION
A “win condition” is the method in which you will attempt to win the game. It can mean many things, but typically it means your strongest blend or combination of blends that can deal the most damage. Alternative win conditions could be stalling the game until your opponent runs out of cards, de-blending until your opponent runs out of blends, or even putting together an elaborate combo to win in one turn. Winning the game is the whole point — without a win condition, none of your other cards matter. Most level 5 blends are designed to be win conditions, so if you’re new to drafting, I recommend choosing the first level 5 you see, and picking sub-blends from then on. For more experienced players, there are a near infinite amount of combinations and strategies that can be classified as win conditions — my only recommendation is to commit to a strategy as soon as possible. Pick the goal of your deck early in the draft, and use your goal to inform your picks for the rest of the draft.
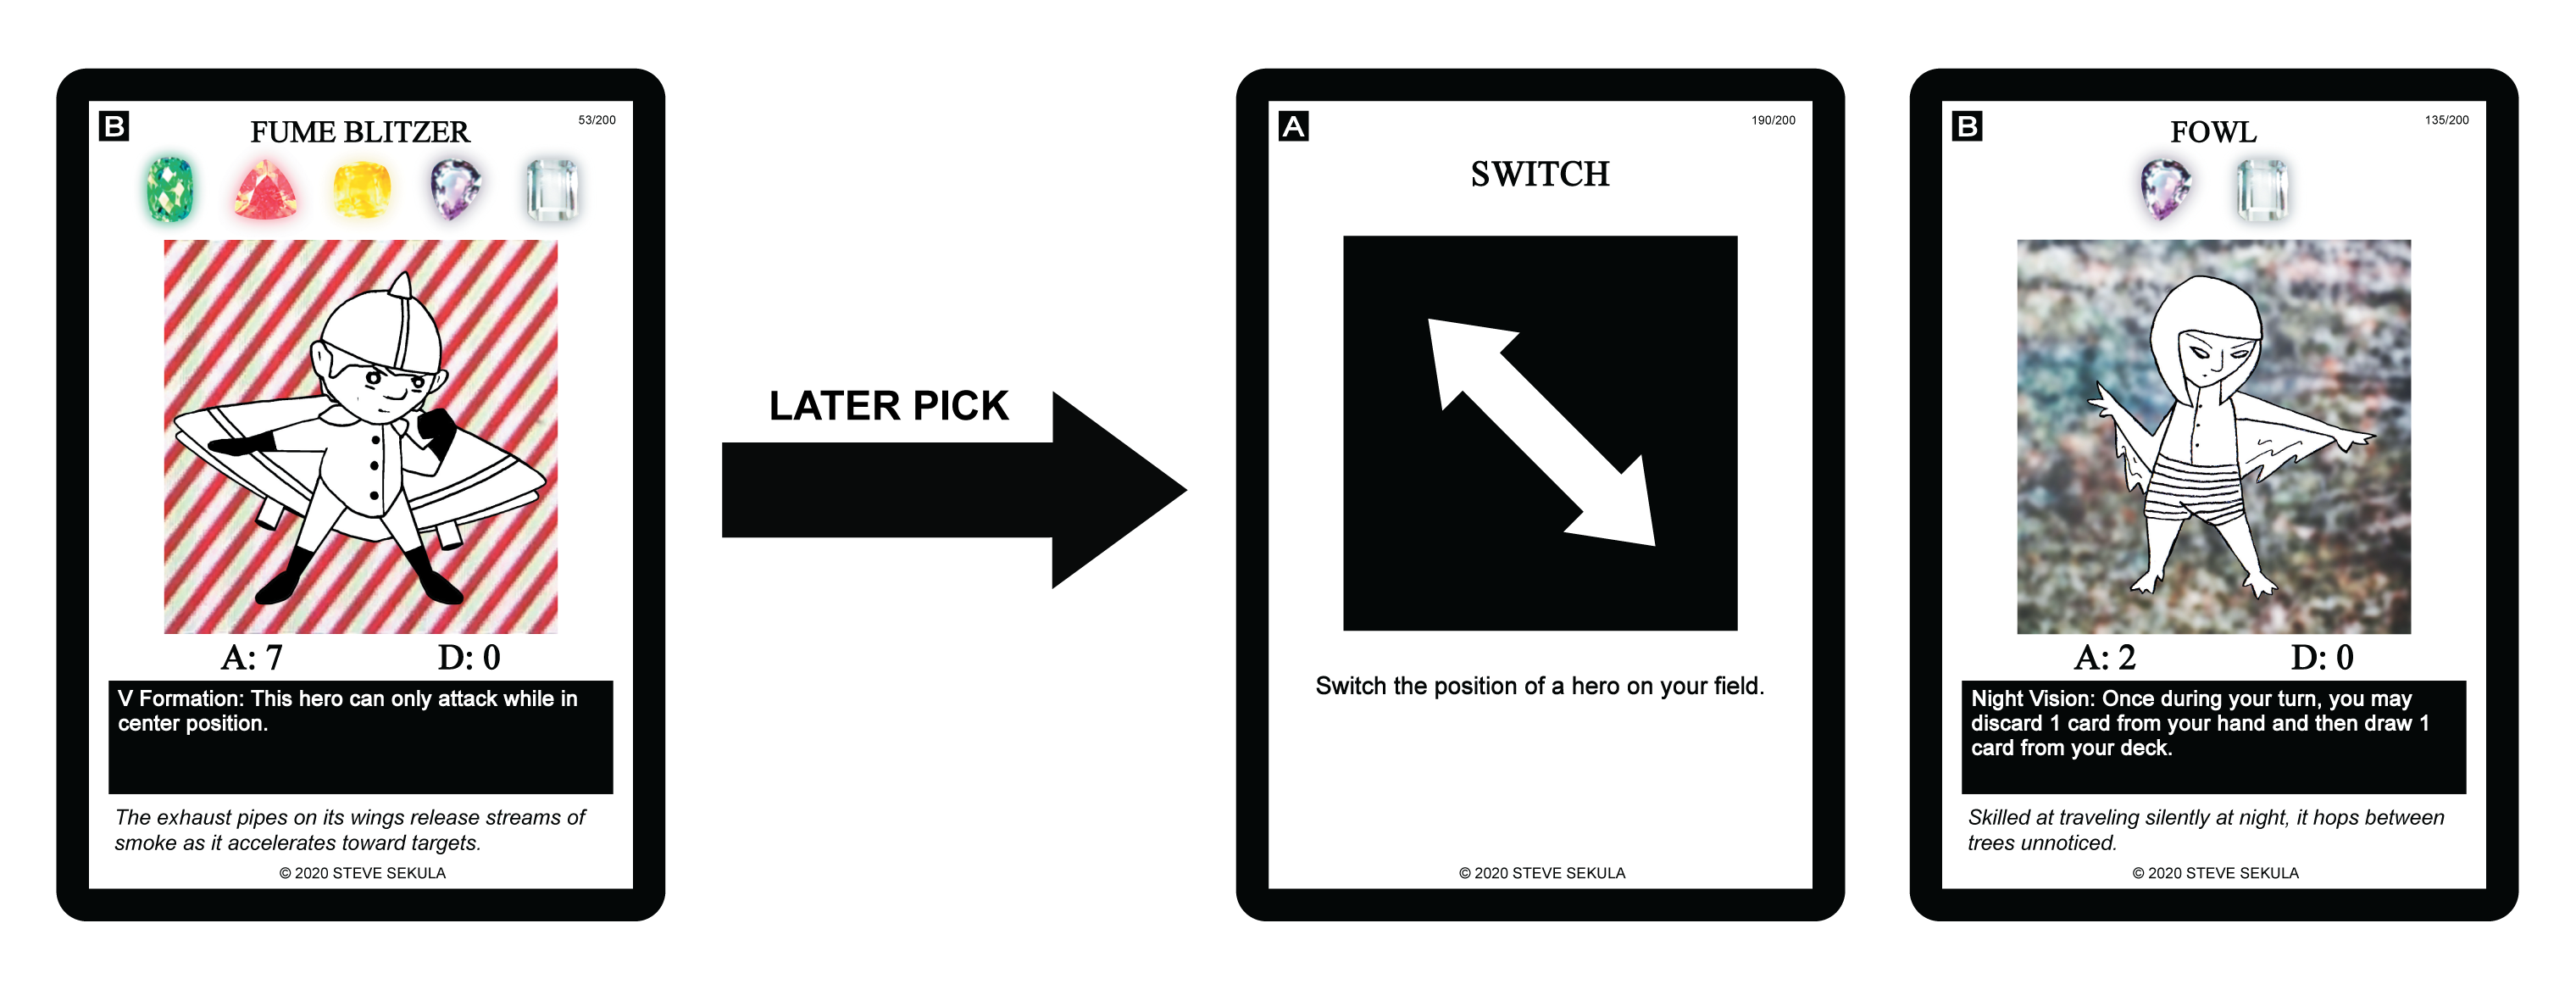
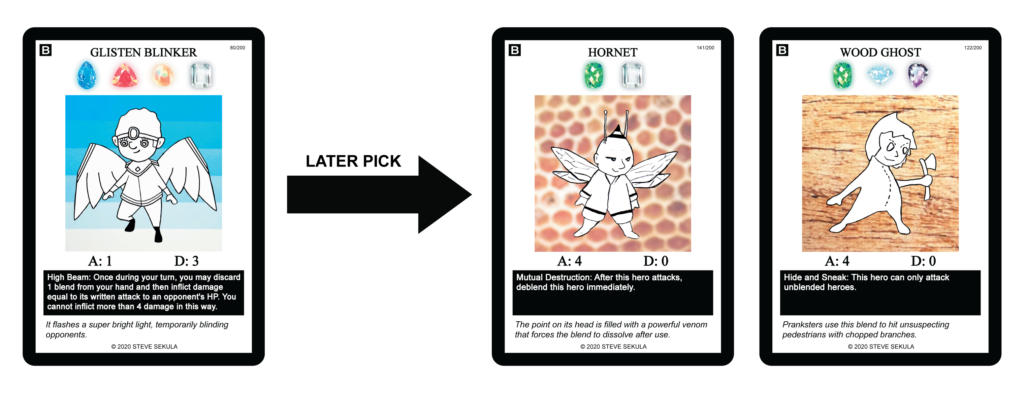
For example, Fume Blitzer can win the game just by attacking, but needs to be in center position — the only real necessity is to find good switch effects to keep it there. On the other hand, you could use Glisten Blinker as your win condition, which would require you to pick a good amount of blends with high power for it to discard.
UTILITY
As soon as you decide on a win condition, you need to find cards that help you get there. These are cards such as Collect, Gem Search, Bishop, Cone, and others. The main stress is to find the right gems, while the secondary stress is to find your win condition blends. Even more than win conditions, there is a lot of nuance here that experienced players need to know in order to find utility in any pack. For new players, ask yourself: does this card let me look at other cards in my deck?
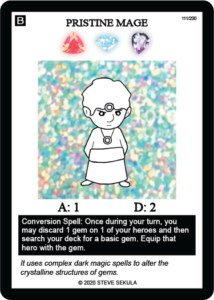
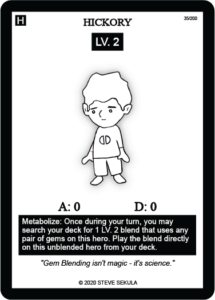
Some of my favorite utility cards are Bishop, Pristine Mage, Swap, and Hickory.


INTERACTION
Effects that switch, stun, or otherwise mess with your opponent, as well as switch or protect your own heroes, are what I call “interaction.” Although interaction is in third place, it is still absolutely necessary. You can’t win without a win condition, you can’t get to your win condition without utility, and you can’t keep your win condition working without interaction. Although you should prioritize win conditions and utility, keep an eye out for interaction, and don’t wait too long to pick some.
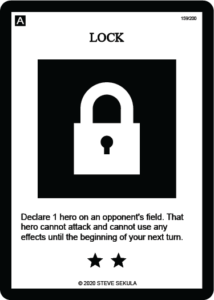
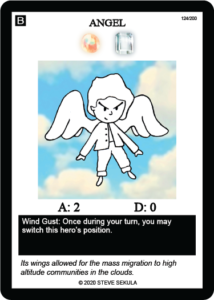
Some of my favorite interaction cards are Lock, Angel, Cancel, and Lester.


SAMPLE DRAFT
Now that we know what we’re looking for, let’s go over some sample picks.
Pack 1


This is an interesting pack! We can break it up mentally like so:
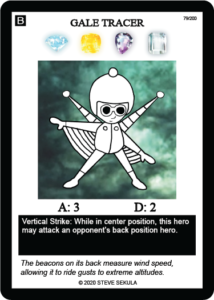
Win conditions: Hail Dominator, Gale Tracer
Utility: Fowl, Draw
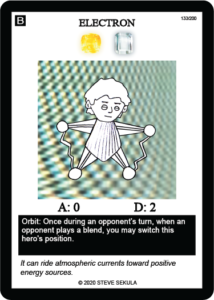
Interaction: Marci, Dissolve, Electron
These are all great picks. I would take Dissolve, because it leaves my options open, and is an amazing card that I certainly don’t want used against me. It’s not a win condition, but it’s powerful enough to take every time. Hopefully we can see a win condition in pack 2.
Pack 2


Let’s break this pack up too!
Win conditions: Luster Striker
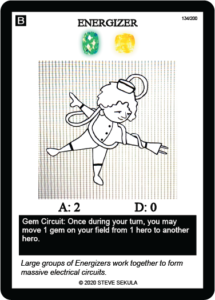
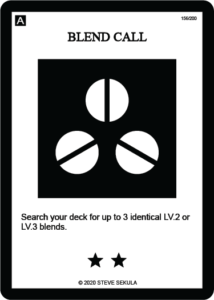
Utility: Gem Search, Energizer, Blend Call
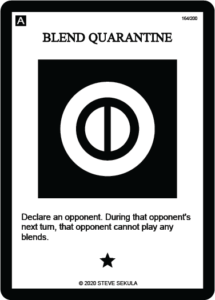
Interaction: Electron, Blend Quarantine, Lock
There are two options here: commit to the Luster Striker, or pick another action and postpone our commitment again. It would probably depend on how I feel that day, and maybe what I ate for lunch. For this example, I would take the Gem Search, and keep looking for a win condition in the next pack.
Pack 3


Win condition: Combustion Boiler
Utility: Electron, Swap, Zachary
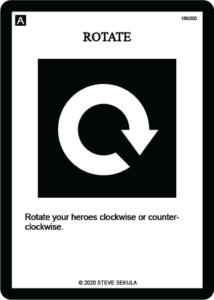
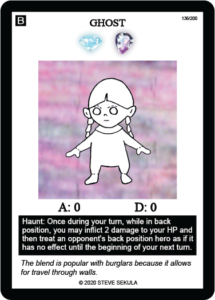
Interaction: Rotate, Electron, Ghost, Consolidate, Arrange
Ok, so no clear win condition has presented itself. However, that’s what makes drafting fun: getting creative! At this point I would take Combustion Boiler and begin looking for cards to support a strategy that uses Combustion Boiler to deblend all of my opponent’s cards. I already have a Dissolve, so this strategy just might work!
There are definitely other options available in this pack — in particular, taking Swap or Zachary. Another nuanced decision would be to take Swap, and begin building a Luster Striker deck, gambling that nobody else will take that card and you can grab it when the pack is passed back to you later.
The Game Plan
So far, I’ve outlined two potential lines of play, both heading in wildly different directions.


Coincidentally, each has a piece of interaction, a piece of utility, and a win condition. As you draft, you would continue to look for cards that support the plan you chose. This is my basic philosophy, and I hope it helps you in your next drafting session! I’ve also included some more advanced tactics to take your skills to the next level.
Bonus tactics
Tabling
When a card is passed all the way around the table and nobody picks it, they call it “tabling,” as in “I thought that card would table.” If a card is particularly niche, or you can tell that none of the other drafters are picking cards with that gem makeup, you can try to “table” it by picking a different card first, and hoping the card you want will come back so you can pick it later. Niche cards include Luster Striker, Toxic Ram, Glitz Energizer, and Bloom Irrigator.
Pivoting
If you see a lot of good cards being passed to you, it means the other players aren’t drafting those gem combinations. You can take a moment and see if you are able to pivot — stop going after your current plan, and switch to a new plan, because you are likely to get all the good cards that no one is using. The sooner you pivot the better, but it’s also harder to figure out. Good times to pivot are when you have mostly actions, or when you have some gem types in common already, or when you see a card that is way better than your entire current strategy.
Splashing
Splashing is when you add gems that aren’t currently in your strategy in order to include one or two really good cards. For example, you already have a level 5 and its sub-blends when you see another level 5 that has 4 gems in common. I would recommend taking that card, and “splashing” that extra gem into your deck.
Deck Size/Composition
Because drafting decks are 10 cards smaller than the standard Gem Blenders format decks, they will be more consistent, but also have less room. In Magic, the rule of thumb is to run 23 spells and 17 lands — so far, this has worked for me in Gem Blenders too. Also, strategies that “mill” your opponent out become 10 turns faster, so keep that in mind as well!
Hate Drafting
If you don’t see any more cards you need, or see a really powerful card that you can’t use but suspect someone else will, you can “hate draft” it. You pick it without intending to use it, just so no one else can have it. Keep in mind, you have to give up your pick, so it’s typically not recommended.
As always, leave a comment if you have any questions, or join our Discord. We’re always available to chat! Happy drafting!